Product Photography with Your Phone: A Practical Guide to Photos That Sell in Any Store

A practical guide to photographing your shop's products with a phone: lighting, backgrounds and angles for each product type, a low-cost photo corner, and editing and uploading photos to your online store.
Share


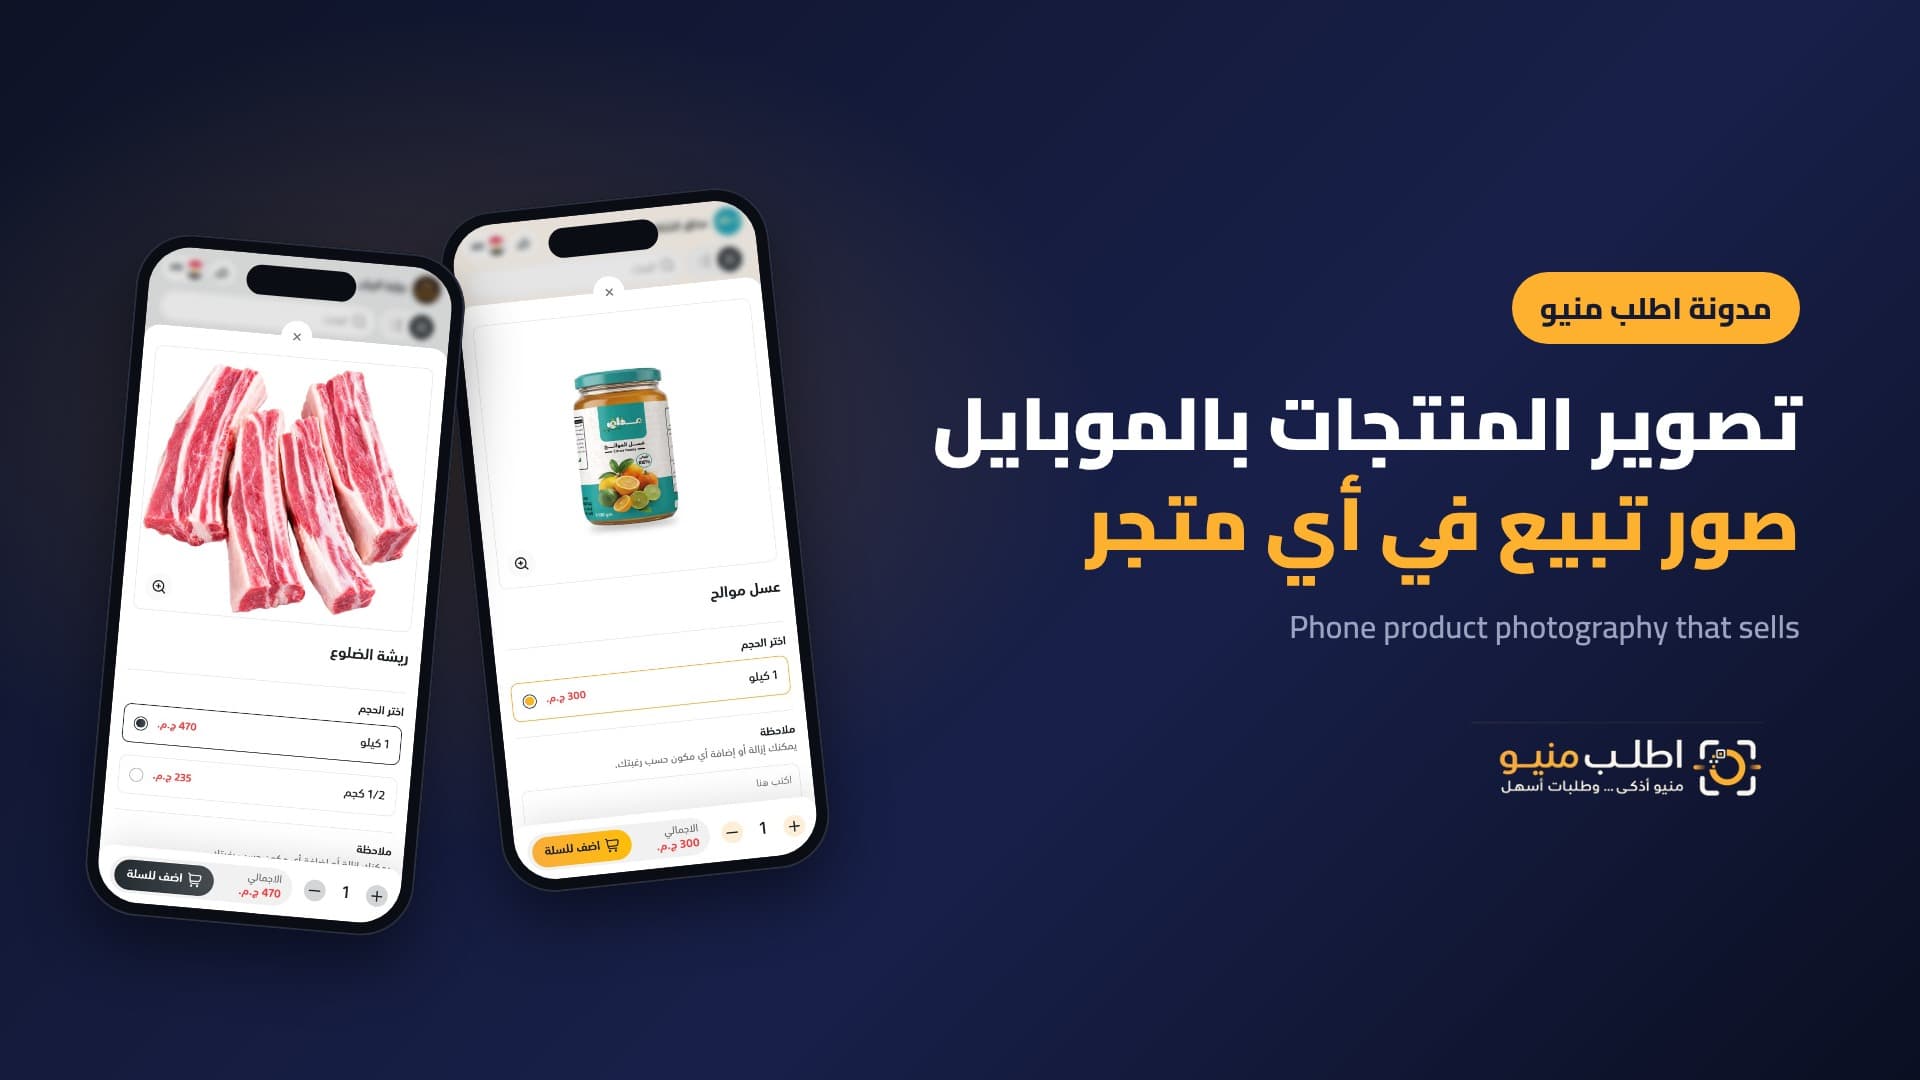
In an online store, the photo is your first salesperson. Customers can't touch or taste the product, so they judge it with their eyes in seconds. The good news is that your current phone is enough for professional-looking photos once you get the lighting, background and angle right.
This guide is practical and fits any shop: food and drinks, clothing, perfume and cosmetics, natural products and homeware.
Why do product photos matter so much?
- They cut questions: a clear photo answers size, colour and shape before the customer asks.
- They build trust: real photos of your products are more honest than supplier or internet images.
- They create an identity: photos with the same background and lighting make your store look organised and professional.
Set up a low-cost photo corner
- A spot by a window: indirect daylight beats any cheap artificial lighting.
- A fixed background: a white, marble or wooden board, or plain fabric pinned without creases.
- A reflector: a sheet of white card opposite the window to soften shadows.
- A phone stand: it fixes the angle and distance for every product.
Phone settings
- Clean the lens before every session.
- Turn the flash off completely.
- Tap the product on screen to focus, and lower the exposure slightly if the photo looks washed out.
- Don't use digital zoom; move the phone closer instead.
- Take several shots and pick the best.
Angles by product type
Product typeBest angleNotes Flat dishes, pizza and breakfastOverheadShows the arrangement and ingredientsBurgers, drinks and cups45 degrees or eye levelShows height and layersClothingLaid flat from above, or on a person or mannequinAdd a close-up of the fabricPerfume, cosmetics and packsEye level with a slight angleWatch for reflections on glassMeat, vegetables and products sold by weight45 degrees on a cutting boardShow scale with a familiar objectHow many photos per product?
Three is usually enough: a main photo on the consistent background, a photo in use or in context, and a close-up of the details (fabric, texture, ingredients). The main photo appears in the product list, so make it the clearest.
Light editing after the shoot
- Adjust brightness and contrast only slightly.
- Crop all photos to the same ratio, usually square for store listings.
- Avoid filters that change the product's real colour; a colour mismatch on delivery hurts trust.
- Name photos after the product before uploading; it helps organisation and search visibility.
Common mistakes
- Yellow light from shop bulbs that changes colours.
- A different background for every product, making the store look random.
- Internet photos that don't match the actual product.
- A tiny product in the middle of a large empty frame.
Frequently asked questions
Do I need a professional camera?
No. A modern phone with daylight and a fixed background is enough for most stores.
When is the best time to shoot?
Midday with indirect light from a window, away from direct sun that creates harsh shadows.
Should I photograph all products at once?
Start with best sellers, then complete the rest in batches with the same setup so photos stay consistent.
Conclusion
Good product photos aren't a luxury; they're the fastest way to lift online store sales. A simple photo corner, a fixed angle and three photos per product, and you'll notice the difference in questions and orders. When you're done, upload the photos to your store from the dashboard in seconds.
Show your products with great photos in your Otlop Menu store: a smarter menu, easier orders.



See Your Products Differently.
Create a digital experience that reflects your brand and helps customers discover your products with ease.
Contact Us
Book a demo with our team
A short session where we walk you through the platform and help you find the right solutions for your business.
 Complete Platform Walkthrough
- Explore Key Features
- Get Your Questions Answered
 Book a Demo